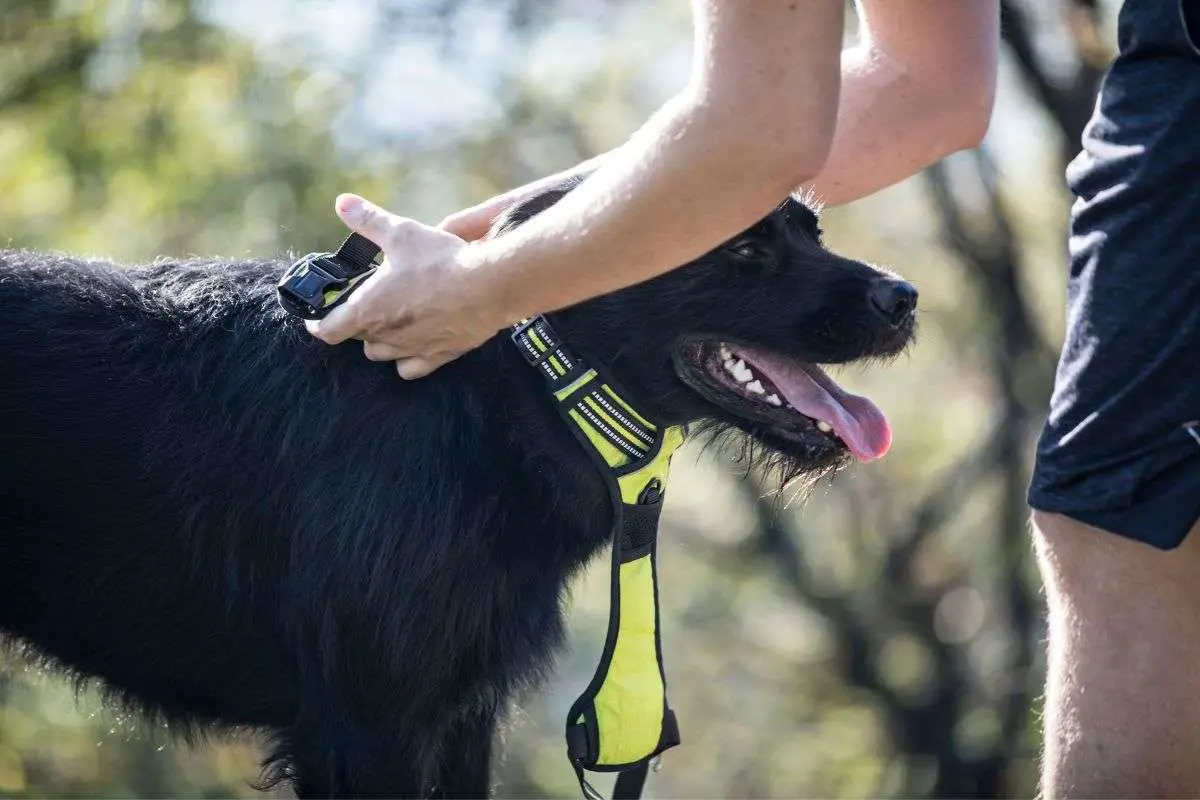
A dog harness is a good alternative to a simple collar and leash if you’re the proud owner of a slightly over-excited pup. Dogs that pull on their leashes can accidentally hurt themselves from the collar putting too much pressure on the front of their throats. Some mischievous dogs have been known to pull or wriggle free from their collars while on walks. A harness helps to rectify both of these issues.
With that being said, harnesses can be more difficult to put on than collars. And because there are several different kinds of dog harnesses, it can be even trickier to work out how to fit the harness properly. In this article, we’ll explain how to put on the 3 main types of dog harnesses so that you and your pup can enjoy stress-free walks again.
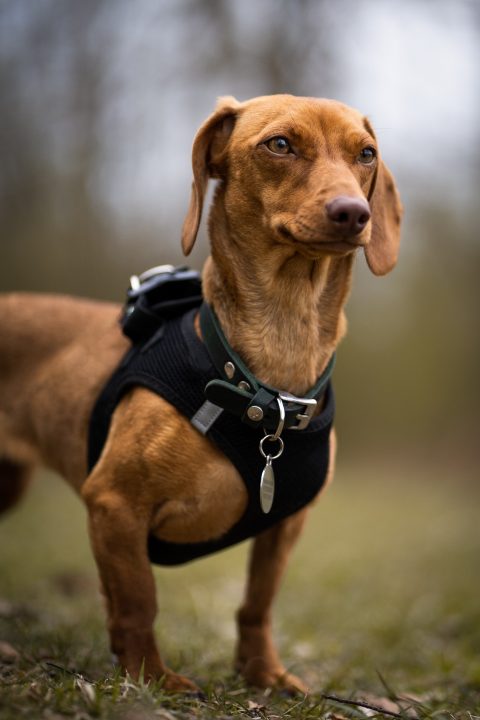
Table of Contents
- Putting On A Standard Harness
- Putting On A Front-Clip Harness
- Putting On A Step-In Harness
- Harnessing a Dog – Final Thoughts
- FAQs
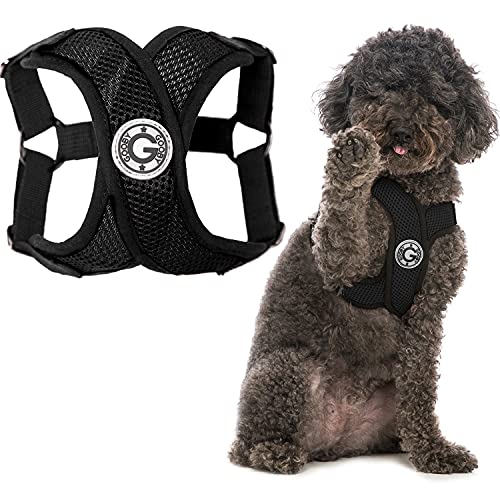
Putting On A Standard Harness
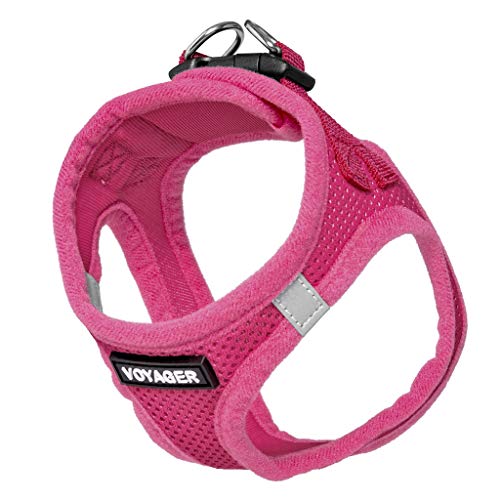
The standard harness is probably the best place to start. This is the most common type of harness, so if you’re not sure what kind of harness you’ve bought, the chances are, it’s this one.
You can recognize a standard dog harness by the positioning of the two loops: one that goes around the ribs, and another around the dog’s neck. You’ll also see a D-ring that sits on the dog’s back. This is where you clip the leash onto.
- Step 1: When your dog is calm, position yourself behind them in a sitting, squatting, or standing position.
- Step 2: Take the wider of the two loops and gently put it over your dog’s head, followed by the narrower second loop. At this point, the D-ring should be on top of your dog’s back.
- Step 3: Pick up one of your dog’s front legs and guide it into the leg hole so that your dog has one leg between the neck and rib loops.
- Step 4: Fasten the harness using the buckle or clasp. This should secure your dog’s other leg in the second leg loop. If the two halves of the buckle don’t reach one another comfortably, adjust the strap until you have the perfect fit.
- Step 5: Once you’ve fastened the harness, you should check that it’s not too loose or tight on any part of your dog’s body. If you can fit two fingers underneath each loop but aren’t able to pull the harness over their head, it’s perfect.
Putting On A Front-Clip Harness
Many dog owners who want to discourage their dogs from pulling at their leashes will invest in a front-clip harness.
This type of harness is called a front-clip harness. This is simply because the leash gets clipped onto the front of the harness, which goes over the dog’s chest.
Bear in mind that some front-clip harnesses are constructed similarly to standard harnesses or step-in harnesses (see below).
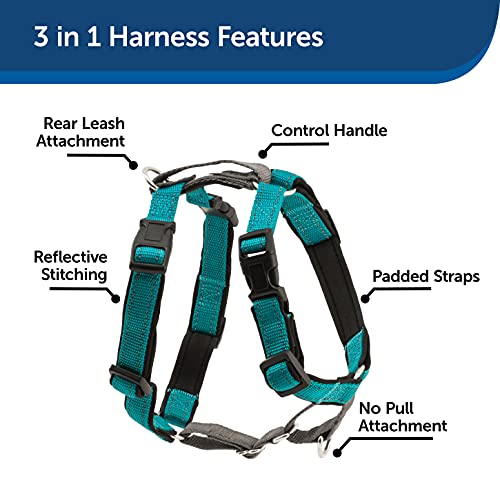
The method below is based on the most common design for front-clip harnesses. It features a loop around the ribcage and a strap over the chest, with no separation of leg holes.
- Step 1: It’s best to start from the right hand side when putting on a front-clip harness. So approach your dog from their right side and kneel down. The dog can either be standing or sitting, as long as they are calm.
- Step 2: Locate the loop of the harness that fits around the ribcage and pass it over the dog’s head. At this point, the ring that the leash will be clipped to should be on the front of your dog’s chest.
- Step 3: Next, fasten the strap that goes under your dog’s chest and belly.
- Step 4: Take some time to ensure that you can’t pull the harness over your dog’s head. Also, that you can snugly fit two fingers under the loop and strap.
Putting On A Step-In Harness
A step-in harness is slightly easier to fit than a standard harness for some people. It somewhat resembles a standard harness, but instead of the leg holes being rectangular, they are triangles.
- Step 1: Your step-in harness will need to be ready for your pup to step into before you can do anything else. Lay the harness out on the floor. The triangle shapes should be visible and the d-rings should be underneath the buckles.
- Step 2: The next thing to do is put your dog in position. Holding them from behind, encourage them to put their front paws into the triangular leg holes.
- Step 3: Grasp the harness from both sides and clip the ends together on top of the dog’s back.
- Step 4: Don’t forget to check that the harness is adjusted to the correct size. Use the two-finger test and see if you can pull the harness over the dog’s head. If you can’t, it’s safe to use.
Harnessing a Dog – Final Thoughts
No matter what kind of harness you use to walk your dog, it’s important to know how to put it on correctly.
We hope that our instructions on how to put on standard, step-in, and front clip harnesses have been helpful. Remember to check the fit of your dog’s harness before heading out on your walk.
Don’t forget to leash train as well!
FAQs
If the harness fits properly, a dog should be able to wear it throughout the day without any discomfort. However, you should always take your dog’s harness off at night and whenever you leave them unsupervised.
A dog is much less likely to cause themselves pain or injury by pulling on a harness than when pulling on a collar. With that being said, it is crucial that the harness is well padded and fits properly to eliminate the risk of chest injury.
Poorly constructed or ill-fitting dog harnesses have the potential to restrict shoulder movement.
This can eventually lead to pain and medical conditions like arthritis and bursitis. Because of this, it’s important to check that your harness is not too tight before you use it.