A dog harness is a good alternative to a simple collar and leash if you’re the proud owner of a slightly over-excited pup. Dogs that pull on their leashes can accidentally hurt themselves from the collar putting too much pressure on the front of their throats. Some mischievous dogs have been known to pull or wriggle free from their collars while on walks. A harness helps to rectify both of these issues.
With that being said, harnesses can be more difficult to put on than collars. And because there are several different kinds of dog harnesses, it can be even trickier to work out how to fit the harness properly. In this article, we’ll explain how to put on the 3 main types of dog harnesses so that you and your pup can enjoy stress-free walks again.
Anlegen eines Standardgeschirrs
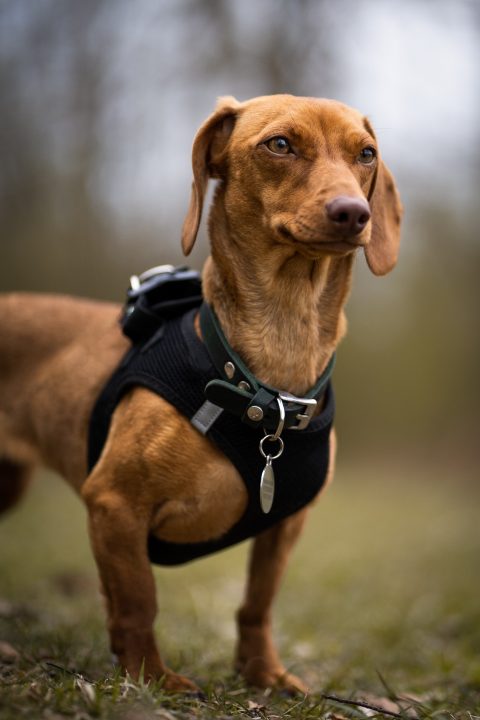
The standard harness is probably the best place to start. This is the most common type of harness, so if you’re not sure what kind of harness you’ve bought, the chances are, it’s this one.
You can recognize a standard dog harness by the positioning of the two loops: one that goes around the ribs, and another around the dog’s neck. You’ll also see a D-ring that sits on the dog’s back. This is where you clip the leash onto.
- Schritt 1: Wenn dein Hund ist ruhig, positionieren Sie sich dahinter in sitzender, hockender oder stehender Position.
- Schritt 2: Take the wider of the two loops and gently put it over your dog’s head, followed by the narrower second loop. At this point, the D-ring should be on top of your dog’s back.
- Schritt 3: Pick up one of your dog’s front legs and guide it into the leg hole so that your dog has one leg between the neck and rib loops.
- Schritt 4: Fasten the harness using the buckle or clasp. This should secure your dog’s other leg in the second leg loop. If the two halves of the buckle don’t reach one another comfortably, adjust the strap until you have the perfect fit.
- Schritt 5: Once you’ve fastened the harness, you should check that it’s not too loose or tight on any part of your dog’s body. If you can fit two fingers underneath each loop but aren’t able to pull the harness over their head, it’s perfect.
Anlegen eines Front-Clip-Geschirrs
Viele Hundebesitzer, die ihre Hunde davon abhalten, an der Leine zu ziehen wird in ein Geschirr mit Frontclip investieren.
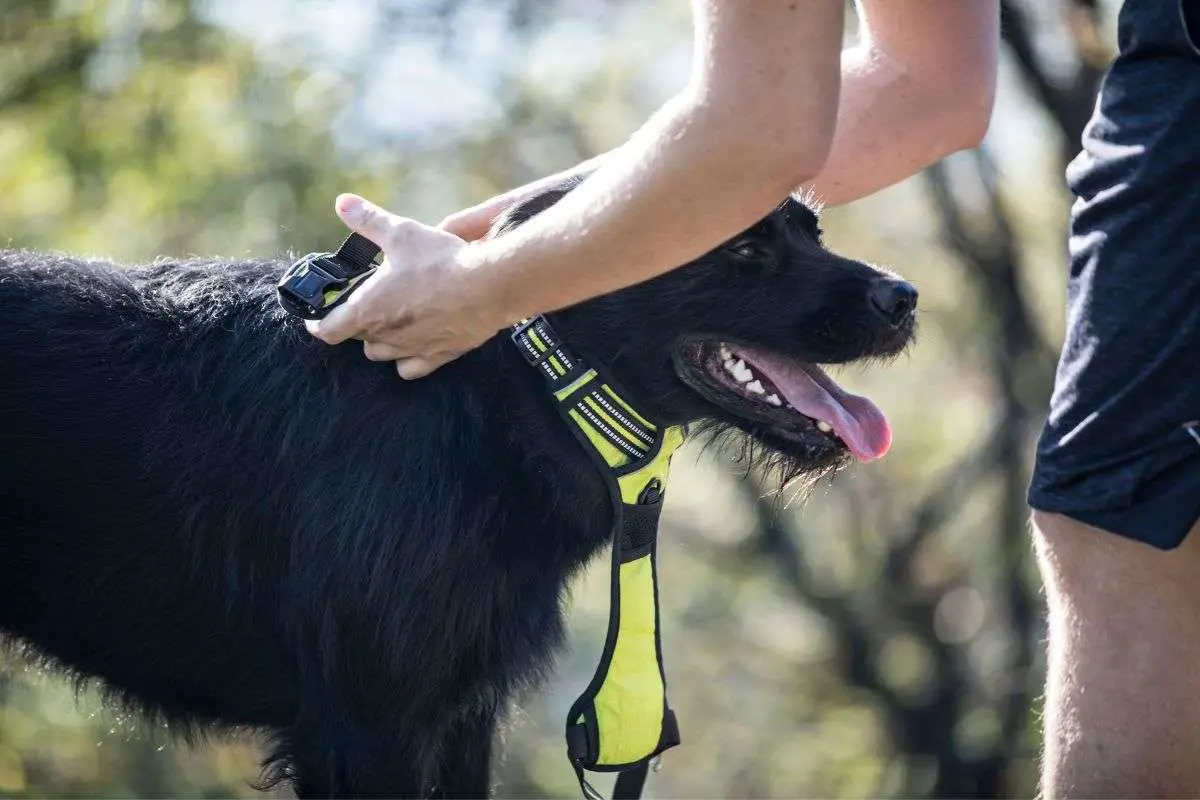
This type of harness is called a front-clip harness. This is simply because the leash gets clipped onto the front of the harness, which goes over the dog’s chest.
Bedenken Sie, dass einige Frontclip-Geschirre ähnlich wie Standard-Geschirre oder Step-In-Geschirre aufgebaut sind (siehe unten).
Die folgende Methode basiert auf dem gängigsten Design für Frontclip-Geschirre. Es besteht aus einer Schlaufe um den Brustkorb und einem Riemen über der Brust, ohne Trennung der Beinöffnungen.
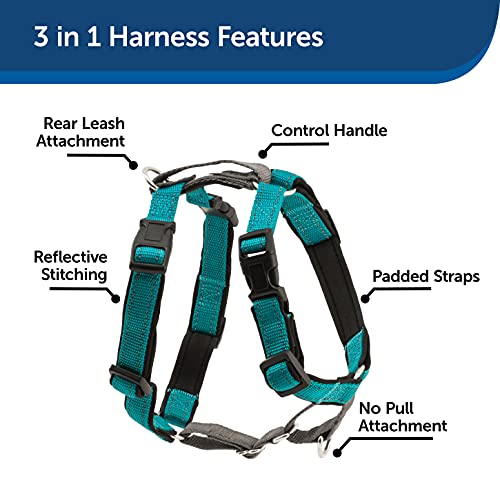
- Schritt 1: It’s best to start from the right hand side when putting on a front-clip harness. So approach your dog from their right side and kneel down. The dog can either be standing or sitting, as long as they are calm.
- Schritt 2: Locate the loop of the harness that fits around the ribcage and pass it over the dog’s head. At this point, the ring that the leash will be clipped to should be on the front of your dog’s chest.
- Schritt 3: Next, fasten the strap that goes under your dog’s chest and belly.
- Schritt 4: Take some time to ensure that you can’t pull the harness over your dog’s head. Also, that you can snugly fit two fingers under the loop and strap.
Anlegen eines Step-In-Geschirrs
Ein Step-In-Gurt ist für manche Menschen etwas einfacher anzulegen als ein Standardgurt. Er ähnelt ein wenig einem Standardgurt, aber die Beinöffnungen sind nicht rechteckig, sondern dreieckig.
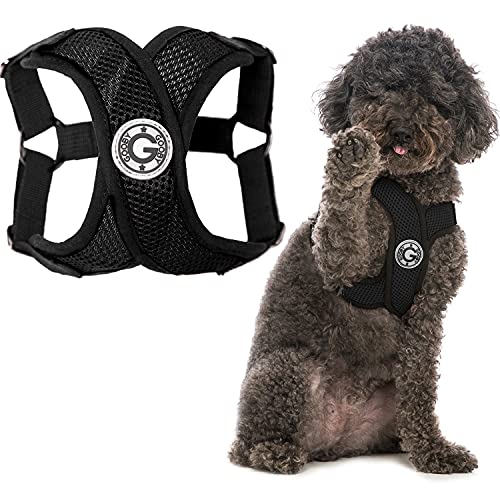
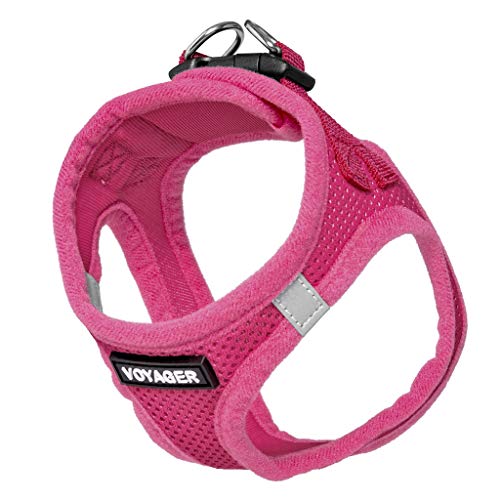
- Schritt 1: Ihr Step-In-Geschirr muss für Ihren Welpen bereit sein, bevor Sie irgendetwas anderes tun können. Legen Sie das Geschirr auf den Boden. Die Dreiecksformen sollten sichtbar sein und die D-Ringe sollten sich unter den Schnallen befinden.
- Schritt 2: Als nächstes bringen Sie Ihren Hund in Position. Halten Sie ihn von hinten fest und ermutigen Sie ihn, seine Vorderpfoten in die dreieckigen Beinlöcher zu stecken.
- Schritt 3: Grasp the harness from both sides and clip the ends together on top of the dog’s back.
- Schritt 4: Don’t forget to check that the harness is adjusted to the correct size. Use the two-finger test and see if you can pull the harness over the dog’s head. If you can’t, it’s safe to use.
Einen Hund angeschirren – Abschließende Gedanken
No matter what kind of harness you use to walk your dog, it’s important to know how to put it on correctly.
We hope that our instructions on how to put on standard, step-in, and front clip harnesses have been helpful. Remember to check the fit of your dog’s harness before heading out on your walk.
Vergessen Sie nicht leine zug sowie!
Häufig gestellte Fragen
Wenn das Geschirr richtig sitzt, sollte ein Hund es den ganzen Tag über tragen können, ohne dass es unangenehm wird. Allerdings sollten Sie Ihrem Hund nachts und immer dann, wenn Sie ihn unbeaufsichtigt lassen, das Geschirr abnehmen.
Das Ziehen an einem Geschirr ist für einen Hund viel weniger wahrscheinlich, dass er sich Schmerzen oder Verletzungen zufügt, als das Ziehen an einem Halsband. Allerdings ist es wichtig, dass das Geschirr gut gepolstert ist und richtig sitzt, um das Risiko einer Brustverletzung auszuschließen.
Schlecht konstruierte oder schlecht sitzende Hundegeschirre können die Schulterbewegung einschränken.
Dies kann schließlich zu Schmerzen und Erkrankungen wie Arthritis und Schleimbeutelentzündung führen. Aus diesem Grund ist es wichtig, vor der Verwendung zu prüfen, ob Ihr Gurt nicht zu eng ist.


 English (United States)
  English (UK)
  German
  Italian
  Spanish
  French